Linux服务器配置Google二次验证登录
1. 准备工作
(1)关闭selinux
[root@google ~]# setenforce 0
(2)安装依赖包
[root@google ~]# yum -y install gcc make pam-devel libpng-devel libtool wget
(3)安装Qrencode,谷歌身份验证器需要调用该程序生成二维码并显示
[root@google ~]# yum install -y qrencode
(4)安装google-authenticator
[root@google ~]# yum install -y google-authenticator
2. Google验证初始化配置
[root@google ~]# google-authenticator
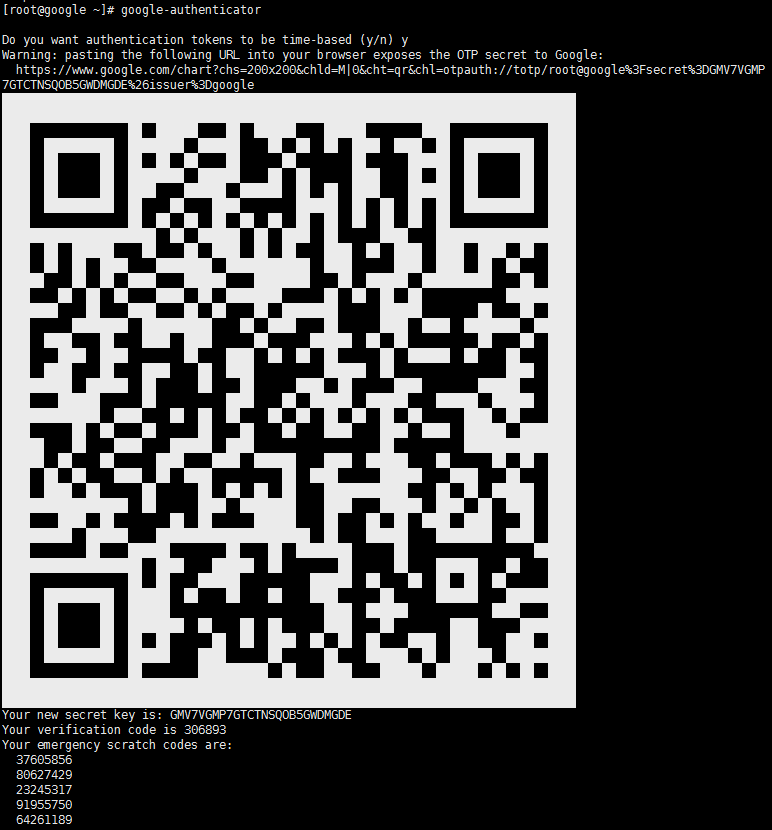
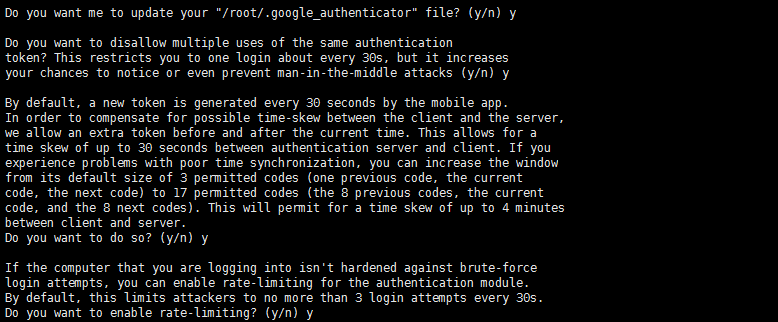
【注】回车后,会有一系列问题,全部输y即可。(二维码要妥善保存,不可丢失)
3. 修改SSH配置增加Google身份验证模块
(1)修改PAM配置文件
[root@google ~]# vim /etc/pam.d/sshd
auth       required     pam_google_authenticator.so  #增加这条

(2)启用 ChallengeResponseAuthentication
[root@google ~]# vim /etc/ssh/sshd_config

[root@google ~]# systemctl restart sshd.service
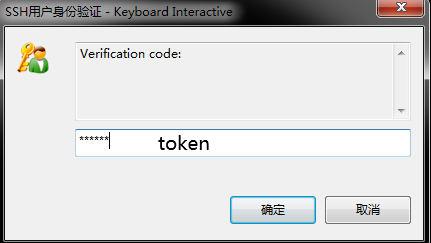
4. 下载Google验证客户端进行测试
客户端下载地址:https://github.com/google/google-authenticator-android/releases

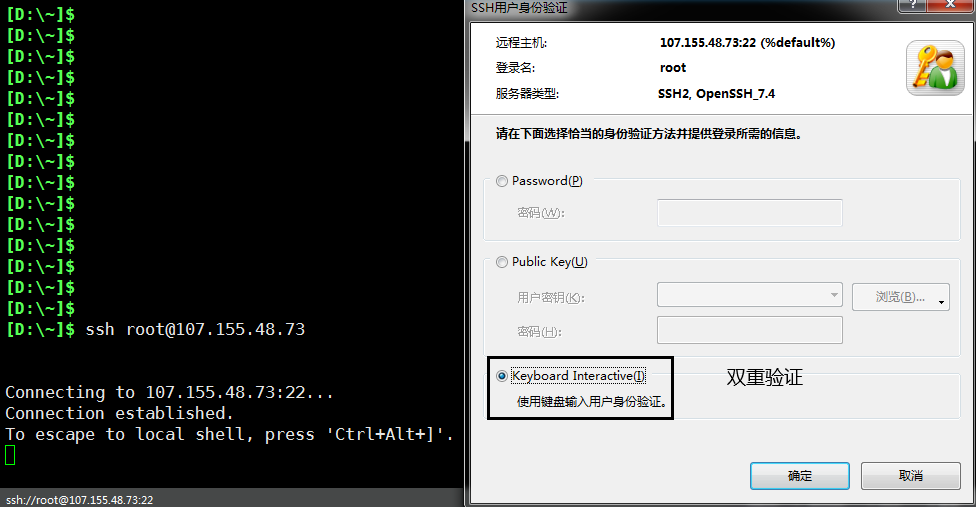
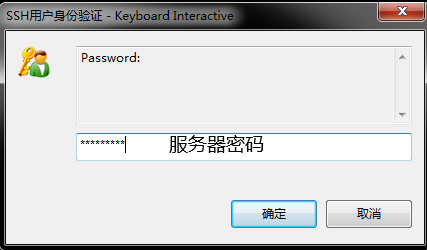

作者:UStarGao
链接:https://www.starcto.com/safetool/123.html
来源: STARCTO
著作权归作者所有。商业转载请联系作者获得授权,非商业转载请注明出处。
UCloud云平台推荐
随便看看
- 2022-08-16MySQL utf8mb4字符集之表情包存储/生僻词存储
- 2021-09-30MongoDB性能分析之WiredTiger引擎
- 2022-05-28MongoDB慢日志文件分析工具-mtools
- 2024-09-18Windows DOS格式脚本和Linux Unix格式脚本差异导致的跨平台问题
- 2021-02-21云计算


